A residential roof damage assessment documents what changed, where evidence appears and what needs professional verification. It should not collapse four separate questions into one:
- What is visibly different?
- What caused it?
- What repair is appropriate?
- Does a warranty or policy respond?
Each question may involve a different professional and evidence set.
Start with safety
Stay away from fallen power lines, unstable trees, shifted structures, sagging ceilings and water near electricity. Do not climb onto a wet, storm-damaged or unfamiliar roof. If life safety is at risk, use emergency services.
Build a timeline
Record the event date and time, weather, when the condition was first observed, changes since then, prior leaks or repairs and actions taken. Save weather alerts or reports as context, but do not treat a nearby storm report as proof that a specific mark was caused by that storm.
Document three evidence zones
Roof and exterior
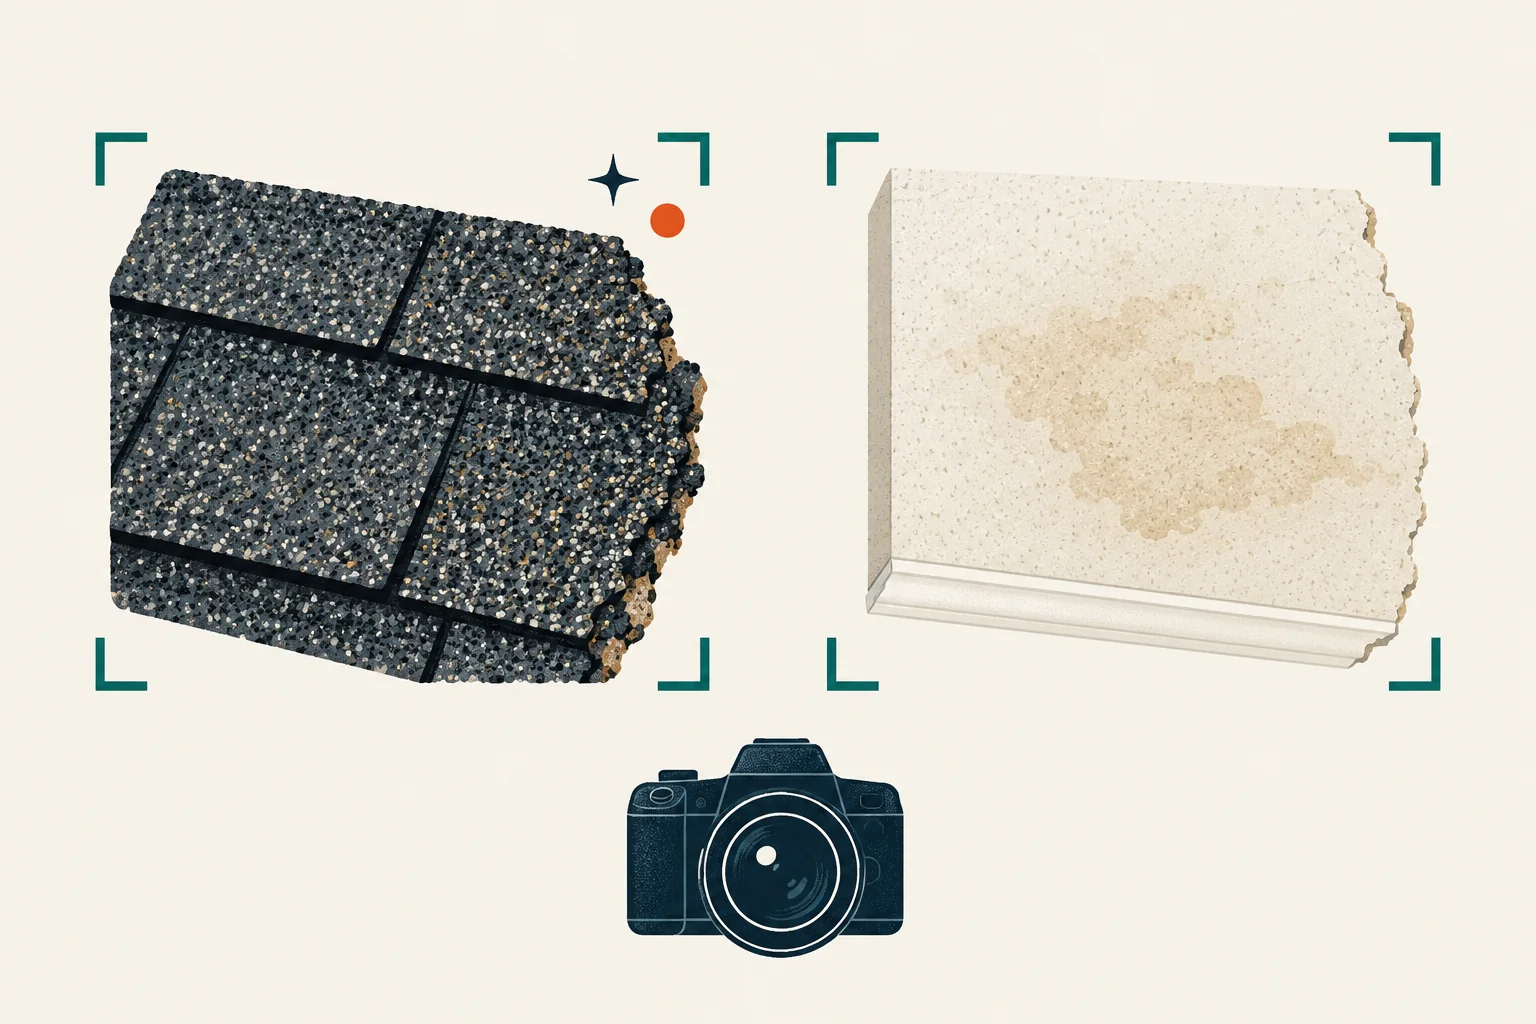
From stable ground, photograph each roof plane, edges, gutters, downspouts, vents, skylights, chimney areas, siding, screens, fencing and outdoor equipment. Collateral evidence can provide context, but only a qualified on-site evaluation can connect it to roof conditions.
Interior
Record active drips, stains, peeling finishes, damp contents and affected rooms. Use a wide room photo plus closer detail. Water may travel before appearing indoors, so do not assume the entry point is directly above the stain.
Accessible attic
Only from normal safe access, document visible decking, framing, fasteners, insulation and penetrations. Skip the attic when footing, heat, electricity, pests or structure create risk.
FEMA recommends photographing and videoing damage before discarding items and retaining receipts. NAIC consumer guidance likewise emphasizes photos, videos, repair receipts and prompt insurer contact when filing.
What the professional assessment should state
- assignment and inspection date;
- methods and areas observed;
- location-specific conditions and photos;
- inaccessible or concealed areas;
- observed active water or immediate concerns;
- possible causes stated with appropriate uncertainty;
- further evaluation or testing needed;
- repair/maintenance/monitor priorities; and
- professional boundaries.
InterNACHI’s standard is a useful example of boundary-setting: a visual inspection does not require unsafe roof walking, water testing, service-life prediction or roof certification.
Choose the right role
A roofer can evaluate constructability and price repairs. An independent inspector can document condition without selling the work. An engineer may be needed for structural movement or capacity. The insurer and adjuster interpret the policy and claim. A tree, chimney, electrical or remediation professional may own a specific hazard.
Avoid common assessment errors
- diagnosing cause from one close-up photo;
- treating age as automatic proof of failure;
- calling cosmetic change functional damage without support;
- promising repair versus replacement before extent is known;
- assuming contractor scope equals insurance coverage; or
- omitting undamaged reference areas and prior conditions.
Turn evidence into action
Sort findings into immediate hazard/active water, prompt specialist evaluation, defined repair/maintenance and monitor. Obtain itemized scopes tied to locations. If recommendations differ, compare the underlying evidence and assumptions rather than choosing solely by price.
Related guide: When event effects and age overlap, use the evidence framework in roof damage vs. normal wear and aging.
Sources
- InterNACHI Standards of Practice, inspection scope and limits; accessed October 17, 2026.
- FEMA damage-documentation guidance, photos, videos and receipts; released April 16, 2025.
- NAIC homeowners claim guidance, documentation and insurer contact; accessed October 17, 2026.