
This checklist helps you record visible clues before a professional roof inspection. It deliberately stops at ground-level and safely accessible indoor observations. Do not climb a ladder, walk on the roof, enter a cramped attic or touch wet electrical equipment to complete it.
Your notes are a dated observation record, not a diagnosis. A dark ceiling mark does not prove where water entered, and a roof that looks intact from the sidewalk can still have concealed damage.
Stop before you start if any of these are present
Keep people away and seek qualified help when you see:
- a sagging or bulging ceiling;
- water near a light fixture, outlet, appliance or electrical panel;
- a fallen tree, damaged utility line or visibly shifted structure;
- active water you cannot contain from a safe, dry location;
- storm conditions, lightning, high winds or ice; or
- any need to climb or step onto the roof.
InterNACHI’s inspection standard does not require even a professional home inspector to walk on a roof that appears unsafe or could be damaged. A homeowner checklist should not demand more risk.
What to bring
- Phone or camera with enough storage
- Binoculars, if you can use them from stable ground
- Flashlight for normal interior rooms; do not enter an unsafe attic
- Notebook or this printed checklist
- Copies of prior reports, invoices, warranties and known repair dates
- A helper who can take notes while you stay aware of surroundings
Use a consistent file name for photos, such as 2026-10-17-north-eave-01. Do not add conclusions like “hail damage” unless a qualified professional has made and documented that determination.
Printable homeowner checklist
1. Record the context
- [ ] Date and approximate time
- [ ] Weather today and during the suspected event
- [ ] Reason for checking: routine, leak, storm, sale, insurance request or completed work
- [ ] Roof material if known
- [ ] Approximate roof age and source of that information
- [ ] Prior repair locations and dates
- [ ] Rooms where stains, drips or odors have appeared
2. Walk the property from safe ground
Stay on a stable surface, away from traffic, overhead wires, trees under tension and storm debris. View each roof plane from more than one angle where public and private access permits.
- [ ] Wide photo of the front, back and each side
- [ ] Visible missing, displaced or uneven covering
- [ ] Debris or branches resting on the roof
- [ ] Roofline that appears newly uneven or sagged
- [ ] Visible issues at ridges, hips, valleys or lower edges
- [ ] Flashing or trim that appears lifted, displaced or corroded
- [ ] Vents, skylights or chimney areas with visible changes
- [ ] Gutters that are detached, bent, overflowing or pulling away
- [ ] Downspouts that are disconnected or discharge against the foundation
- [ ] Granules or fragments on the ground, with a photo of their location
- [ ] Damage to siding, screens, fencing or outdoor equipment that may provide storm context
“Not visible” is a valid result. Do not move closer if doing so creates a fall, electrical or debris hazard.
3. Check occupied rooms
- [ ] New ceiling or wall stain
- [ ] Drip, dampness or peeling/bubbling finish
- [ ] Musty odor, noting exact room and time
- [ ] Wet flooring, furniture or belongings
- [ ] Change after rain or snowmelt
- [ ] Photo with one wide room view and one close detail
- [ ] Temporary container or absorbent material used, if safe
- [ ] Receipt saved for emergency supplies or services
Do not puncture a ceiling bulge or stand beneath it. Do not touch wet switches, fixtures, cords or appliances.
4. Observe only safely accessible attic areas
Skip this section if the access requires a ladder, the walking surface is unclear, wiring is exposed, pests are present, insulation conceals footing, the space is hot or confined, or you simply do not feel safe. Looking from a normal, stable access point is enough.
- [ ] Staining or dampness on visible decking or framing
- [ ] Rusted fasteners or dark trails below penetrations
- [ ] Damp, compressed or displaced insulation
- [ ] Daylight at an unexpected location
- [ ] Condensation or frost
- [ ] Odor stronger near a particular area
- [ ] Photo taken without stepping beyond safe flooring
Daylight is not always a leak, and staining may be old. Record what you see without assigning a cause.
5. Assemble the property record
- [ ] Previous inspection reports
- [ ] Roof contract and material details
- [ ] Warranties and registration records
- [ ] Repair invoices and before/after photos
- [ ] Insurance correspondence, if relevant
- [ ] Solar, skylight, chimney or gutter work records
- [ ] A simple timeline of events and changes
FEMA recommends photographing damage before discarding items and keeping repair or replacement receipts after severe weather. Coverage and documentation requirements vary, so contact your insurer for instructions before signing a restoration agreement.
6. Questions for the inspector
- [ ] Which roof and interior areas are included?
- [ ] Which access methods will you use?
- [ ] What will cause an area to be marked inaccessible?
- [ ] Will the report identify the location of each finding?
- [ ] How will active, urgent, maintenance and monitor items differ?
- [ ] Do you sell repairs or receive referral compensation?
- [ ] Which licenses or insurance apply in this state?
- [ ] When will I receive the report, and can I ask follow-up questions?
How to photograph useful evidence
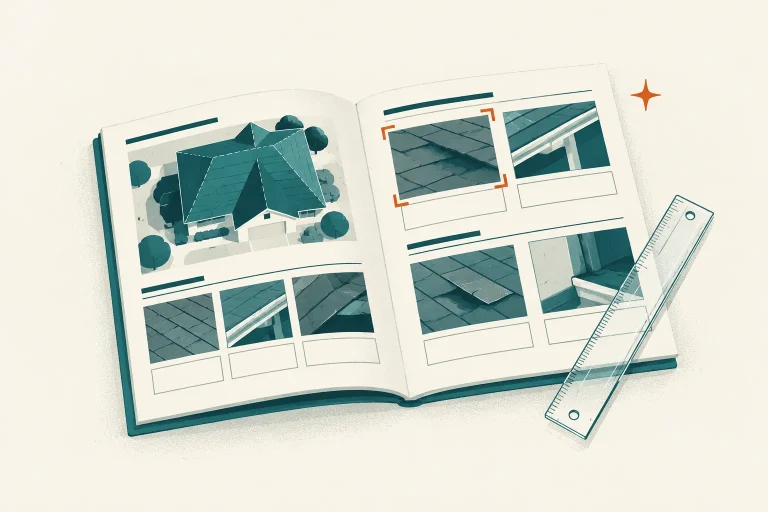
For each concern, take a wide image that establishes location, a medium image that shows the surrounding component and a close image for detail. Keep the original files. Avoid filters, markup over the original or aggressive cropping. Put annotations on copies.
Repeat photos from roughly the same position if you are monitoring a stain. A ruler in an indoor photo can establish scale, but never place anything where it exposes you to an electrical or ceiling-collapse hazard.
What this checklist cannot tell you
It cannot establish:
- whether concealed underlayment, fasteners or decking are sound;
- the precise path or origin of water;
- whether a roof meets every current code provision;
- the cause or date of storm damage;
- whether an insurer will cover a condition; or
- how long the roof will last.
Those are reasons for a scoped professional inspection or specialist evaluation, not reasons to take a risk yourself. Learn what an on-site visit should include in our residential roof inspection guide.
Decide the next step
Use the record to describe the problem in observable terms: “Water appeared at the north bedroom ceiling during wind-driven rain on October 16,” not “the flashing has failed.” Send the timeline and representative photos when requesting an inspection. That gives the professional a useful starting point without locking them into your theory.
Once the visit is complete, use our guide to read a roof inspection report and connect each recommended action to a photo, location, priority and responsible trade.
Sources and editorial notes
- InterNACHI Home Inspection Standards of Practice, visible roof components and access limitations; accessed October 17, 2026.
- FEMA: How to Document Damages After Severe Weather Events, photos, records and receipts; released April 16, 2025.
- OSHA fall-protection overview, background on fall hazards; accessed October 17, 2026. OSHA rules generally apply to workplaces, but the hazard is relevant to avoiding homeowner roof access.
This checklist is educational and is not a roof inspection, engineering assessment, insurance opinion or safety clearance.