
Roofers usually inspect a roof to answer a construction question: Where is water likely entering? What needs repair? Can a section be matched? What should a replacement scope include? Their process may use the same observation methods as an independent roof inspector, but the deliverable and business relationship can differ.
This guide explains the inspection workflow and methods. For help choosing among professional roles, use the separate roofer, inspector, adjuster and engineer role guide.
Step 1: Define the question and the deliverable
Before looking at the roof, a careful roofer asks what changed and what decision you need to make. Useful intake details include:
- leak location and when it appears;
- recent wind, hail, debris or maintenance events;
- roof material and known installation date;
- prior repairs and recurring areas;
- warranty, invoice, permit or product records;
- solar panels, skylights and other attachments; and
- whether you need a repair diagnosis, condition report, estimate or post-installation review.
Clarify what you will receive. A spoken walkthrough, photo summary, formal inspection report and construction estimate are not the same product. If you need independent condition documentation rather than a sales proposal, say so before the appointment.
Step 2: Review the property from the ground
The roofer may walk the perimeter to identify roof shape, pitch, material, edges, drainage routes, visible displacement, tree contact and access constraints. Ground observation can reveal major conditions and guides the closer inspection, but distance and angle conceal small details and subsurface issues.
The roofer may also examine material found on the ground, gutters, downspouts, fascia, soffits and exterior staining. A loose shingle in the yard is context; it should be tied to a roof location before it becomes a repair conclusion.
Step 3: Choose a safe access method
Roof access is not automatic. Weather, height, slope, material fragility, surface condition, electrical hazards, structural concerns and solar equipment can make walking unsafe or damaging.
Depending on the roof and scope, a professional may use:
- binoculars or a zoom camera;
- eave observation from an appropriately placed access system;
- pole-mounted imagery;
- a drone operated within applicable rules;
- roof-surface observation with suitable safety systems; or
- a combination of methods.
OSHA’s residential fall-protection guidance requires employers to plan for worker fall hazards. It does not create a homeowner inspection method. Do not follow a roofer onto the roof or climb a ladder to help.
General home-inspection standards such as InterNACHI’s explicitly allow roof observation without requiring the inspector to walk it. The quality question is whether the chosen method matches the decision and whether its limits are disclosed.
Step 4: Examine the covering and its pattern
Close inspection varies by material.
Asphalt shingles
The roofer may map missing or displaced shingles, cracks, tears, surface wear, open tabs, fasteners, prior patches and changes at ridges, hips, valleys, eaves and rakes. The full asphalt-shingle roof inspection guide explains why granule loss or a lifted-looking edge needs context.
Metal roofing
The roofer should identify standing-seam, through-fastened or another system and evaluate visible panels, seams, fasteners, coatings, corrosion, flashings and movement points. Concealed clips and attachments cannot be claimed as verified without records or authorized opening. See the metal-roof inspection guide.
Tile, slate, wood and membrane roofing
Each requires material-specific knowledge. Foot traffic can damage fragile coverings, and surface appearance may not show underlayment or attachment condition. Ask how the roofer’s experience matches the installed system.
Step 5: Trace transitions and water routes
Roof leaks often involve details rather than the middle of a roof plane. A roofer may inspect:
- valleys and slope changes;
- eaves, rakes, ridges and hips;
- wall, chimney and parapet flashings;
- skylights, plumbing and exhaust penetrations;
- curbs, crickets and diverters;
- gutters, scuppers and downspouts;
- additions and material transitions; and
- solar, antenna and snow-retention attachments.
A water stain directly below one point does not prove that water entered there. Water can travel along decking, framing or fasteners. The roofer should connect the proposed repair to visible evidence and state when opening or testing may change the scope.
Step 6: Look inside when access is safe and included
An attic or interior review can add important context. The roofer may observe water tracks, decking stains, wet insulation, daylight, fastener patterns, ventilation paths and visible framing. Finished cavities and inaccessible areas remain concealed.
This is not automatically a structural, electrical, mold or indoor-air-quality assessment. If framing is sagging, charred, displaced or otherwise concerning, the roofer may recommend a structural engineer or building official. If water is near electricity, immediate electrical safety takes priority.
Step 7: Use tools as supporting evidence
Some roofers use moisture meters, thermal cameras, drones or test cuts. Each has a limited job:
- A moisture meter compares accessible material readings but does not locate the exterior entry point alone.
- Thermal imaging shows temperature patterns that need corroboration.
- Drone imagery improves coverage but cannot test seal strength, softness or concealed layers.
- Controlled water testing can be useful in selected conditions but requires an agreed method, safety controls and an understanding that water may travel.
- Destructive or invasive work should require authorization and a plan to restore the assembly.
Ask which tool answered which question. A colorful image is not a diagnosis without physical and visual context.
Step 8: Turn findings into a written scope
A useful roofer deliverable identifies:
- date, weather and methods;
- roof material and system;
- areas viewed and not viewed;
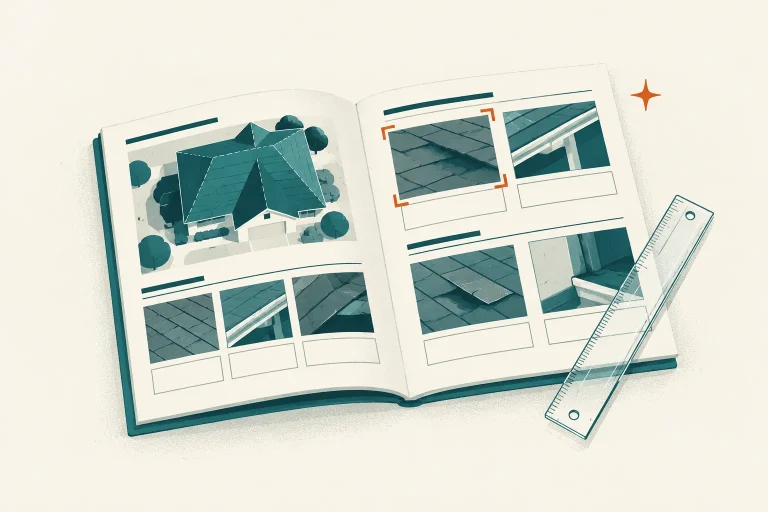
- location-keyed overview and detail photos;
- observed condition and likely implication;
- immediate, repair, maintenance and monitoring priorities;
- proposed materials and exact work area;
- exclusions and concealed-condition allowances;
- price, payment schedule and change-order process; and
- workmanship and manufacturer-warranty information.
The inspection record and estimate can be in one package, but you should still be able to tell observation from sales scope. Read how to read a roof inspection report before comparing bids.
Free inspection, paid inspection and estimate
A contractor may offer a no-cost inspection because it supports a repair or replacement estimate. That can be a legitimate sales process, but it is not automatically independent and may not include a full written condition report. A paid inspection can still be poor if its scope and evidence are weak.
Compare deliverables, conflicts, qualifications and methods instead of price alone. The roof inspection versus a free roofing estimate guide gives a side-by-side decision framework.
Questions that reveal the quality of the process
- What exact areas and methods are included?
- Under what conditions will you decline to walk the roof?
- What experience do you have with this material and system?
- Will photos be tied to roof locations?
- What cannot be determined without opening the assembly?
- Is the deliverable an inspection report, repair estimate or both?
- Do you receive compensation if I authorize the work?
- Which licenses and insurance can I verify locally?
- How will concealed conditions and change orders be handled?
- Can I compare your scope with another contractor before signing?
After severe weather, the FTC recommends verifying licensing and insurance, comparing written estimates and resisting pressure to decide immediately. Do not rely on promises that an insurer will approve the work.
When the inspection should lead to someone else
A roofer may refer structural movement or framing questions to an engineer, electrical hazards to an electrician, insurer decisions to the insurer, and independent condition disputes to a qualified inspector or consultant. That is appropriate scoping, not a failed inspection.
Sources and editorial notes
- InterNACHI Home Inspection Standards of Practice, visible inspection scope, roof methods and limitations; accessed October 17, 2026.
- OSHA: Fall Protection in Residential Construction, employer planning and worker-safety context for roof access; accessed October 17, 2026.
- Asphalt Roofing Manufacturers Association publications, asphalt-roof system and application resources; accessed October 17, 2026.
- Metal Construction Association: Metal Roof Installation Manual, metal-system, fastener, sealant and inspection context; accessed October 17, 2026.
- FTC: How To Avoid Scams After Weather Emergencies and Natural Disasters, contractor screening and written-estimate guidance; accessed October 17, 2026.
Editorial boundary: This methods guide does not train an unqualified reader to access a roof or perform repair. Inspection scope, licensing and allowed services vary by provider and jurisdiction.