Do not begin with the repair total. Begin with the scope.
A useful roof inspection report tells you what was observed, where it was observed, how the area was viewed and what prevented a complete view. The recommendations should follow from that evidence. If a report jumps directly from a few photos to “replace the roof,” it has skipped the reasoning you need for a large decision.
1. Confirm the report’s purpose
Look for the client, property, inspection date and stated purpose. A general home inspection, roof-only condition assessment, contractor estimate, insurer inspection and roof certification have different scopes and audiences.
InterNACHI’s general home-inspection standard, for example, describes a non-invasive visual examination of accessible areas. Its roof section does not require walking on the roof, predicting service life, performing a water test or certifying the roof. Your contract may differ, but the report should tell you what standard or agreement governed the work.
2. Find the method and access notes
A report should state whether the roof was viewed from the ground, eaves, roof surface, drone, pole camera, accessible attic or a combination. None of these labels alone establishes quality. Match the method to the roof’s height, pitch, covering, weather and condition.
Then read every limitation. Common examples include:
- snow, rain, wind or wet surfaces;
- steep or high sections;
- fragile tile, slate or aged coverings;
- solar panels or rooftop equipment;
- inaccessible attic areas;
- insulation or finishes concealing components; and
- stored belongings blocking access.
A limitation is not a defect. It is an unanswered area. The report should tell you whether the limitation changes the recommendation or requires a follow-up.
3. Separate observations from interpretations
Good reports use precise language:
- Observation: “A water stain approximately 18 inches wide was visible on the north bedroom ceiling.”
- Interpretation: “The pattern is consistent with prior moisture movement.”
- Limitation: “The cavity above the finished ceiling was not visible.”
- Recommendation: “Have a qualified roofing professional evaluate the roof and flashing above this area and identify the source before repairs.”
Be cautious when a conclusion is stronger than the evidence. “Hail impact,” “storm date,” “code violation,” “mold,” “structural failure” and “insurance-covered damage” can require specialized qualifications or additional evidence.
4. Read photos as a location system
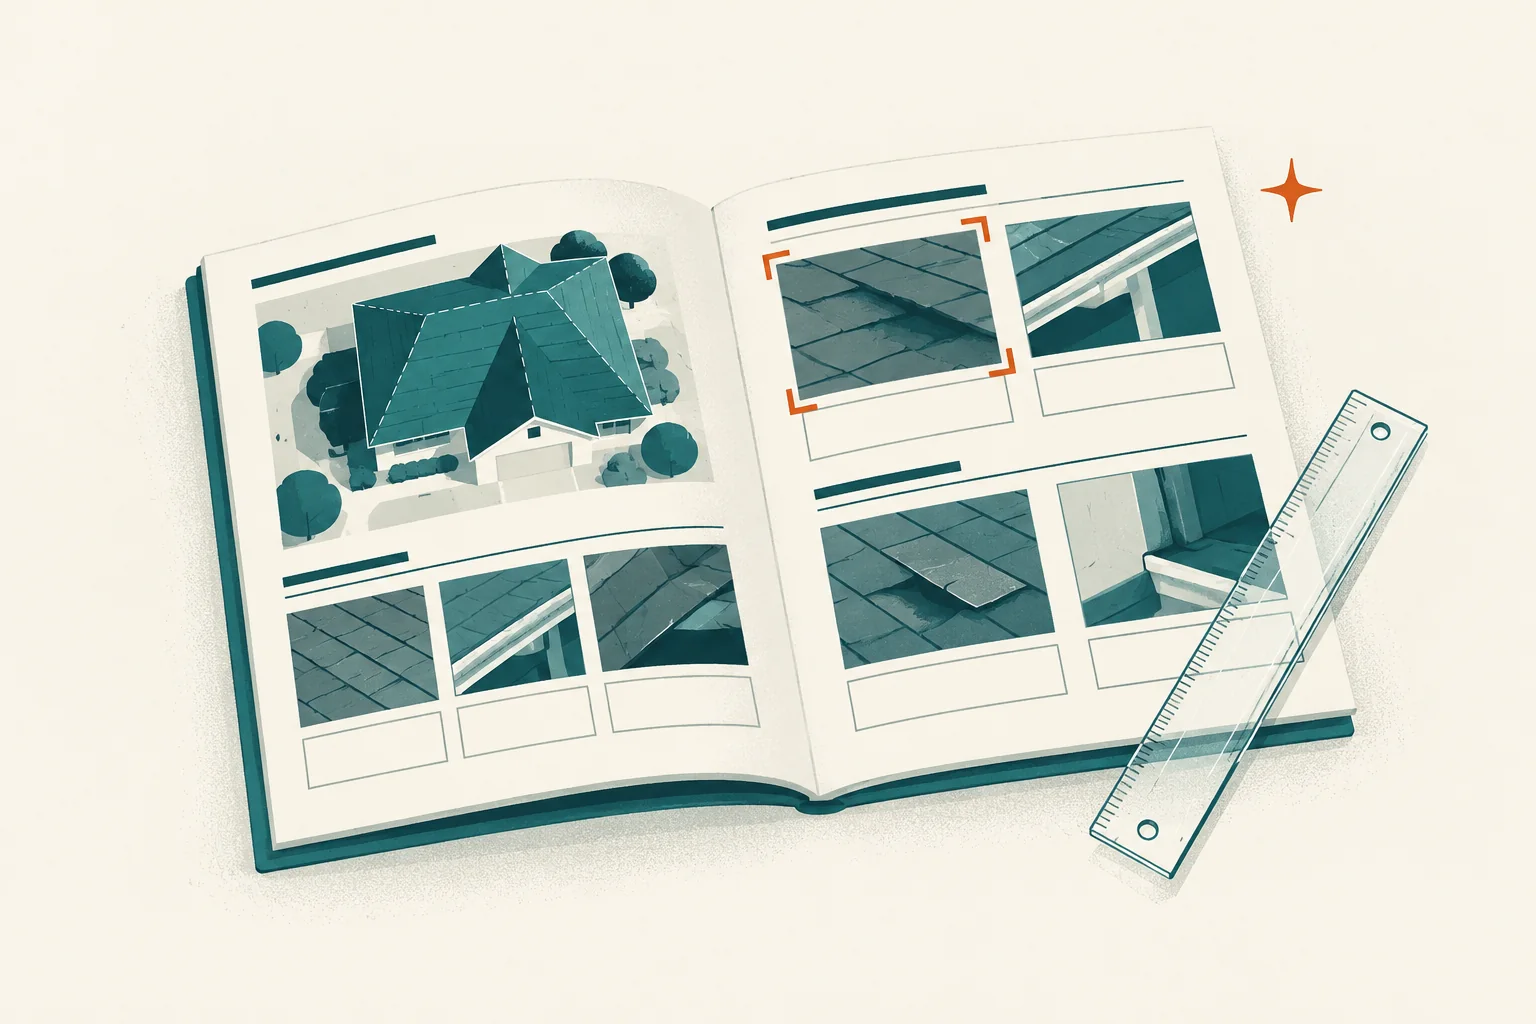
The best photo set works like a map. It includes a wide view, a component-level view and close detail. Captions identify the roof plane or room, the component and the observed condition.
Ask these questions about every major finding:
- Can I tell where this is?
- Is there enough surrounding context?
- Is the photo clear and unaltered?
- Does the caption describe what is visible rather than guess at cause?
- Is there a corresponding recommendation?
Thermal images need extra care. A thermal camera detects surface temperature patterns, not water itself. ASTM’s roof thermography practice says infrared imaging does not determine the cause or point of moisture entry, and professional guidance calls for verification rather than treating color patterns as proof.
5. Decode priority labels
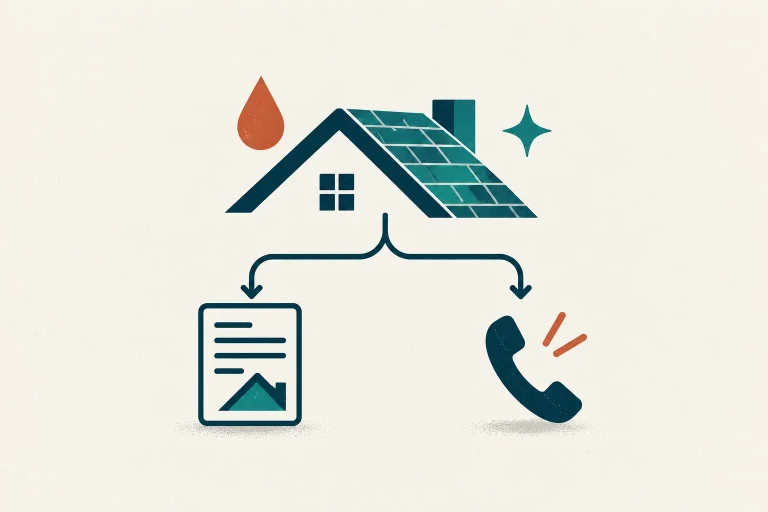
Reports use different labels—“major,” “safety,” “repair,” “maintenance,” “monitor”—so look for the report’s definitions. If none are supplied, ask the inspector to sort findings by consequence and timing.
One practical framework is:
| Lane | Meaning | Typical response |
|---|---|---|
| Immediate hazard or active water | People or property may be exposed now | Isolate the area and call the appropriate qualified professional |
| Prompt evaluation | Cause, extent or specialty is not established | Obtain a scoped evaluation before deciding on work |
| Repair or maintenance | A defined condition needs correction | Request a written scope and comparable bids |
| Monitor | No immediate action, but change matters | Save baseline photos and set a review date |
“End of useful life” should not substitute for component-specific evidence. Age matters, but exposure, material, installation, repairs and actual condition matter too.
6. Translate each recommendation into an action
For every recommended item, write down:
- Location: Which plane, edge, penetration or interior room?
- Condition: What exactly was observed?
- Consequence: What might happen if it is not addressed?
- Uncertainty: What remains concealed or unconfirmed?
- Next professional: Roofer, chimney specialist, engineer, electrician, mold professional or another trade?
- Timing: Immediate, prompt, routine or monitor?
This prevents one broad recommendation from swallowing several different issues.
7. Compare the report with repair proposals
Ask bidders to tie each line item to the inspection location and finding. A proposal should say what will be removed, repaired or replaced; the material and quantity; how transitions and affected components are handled; what is excluded; warranty terms; permit responsibility; cleanup; payment schedule; and change-order process.
If proposals disagree, compare their explanation of the evidence—not just price. One contractor may assume concealed decking replacement while another prices it as an allowance. One may include flashing work that another excludes.
8. Ask follow-up questions before signing
Useful questions include:
- Which finding matters most, and why?
- Which area could not be inspected?
- What would verify the suspected cause?
- Does this recommendation address a symptom or the source?
- Is a specialist needed before repair?
- Which photos should I use to obtain comparable estimates?
- What should I monitor if I defer work?
A good report leaves a trail
You should be able to trace every meaningful recommendation backward: action → consequence → observed condition → photo/location → method → limitation. If one link is missing, ask for clarification before converting the report into a contract.
Related guide: Compare the finished report with the promised scope using what a roof inspection should include.
Sources and editorial notes
- InterNACHI Home Inspection Standards of Practice, inspection scope and roof limitations; accessed October 17, 2026.
- ASTM C1153-23, limitations and verification context for infrared roof moisture surveys; accessed October 17, 2026.
This guide explains report structure. It does not interpret a specific property, provide engineering or legal advice, or determine insurance coverage.