Affiliate disclosure: RoofInspectionUSA may earn compensation from qualifying purchases when retailer links are activated. That would not change the price you pay. No compensated links are active in this draft. We have not hands-on tested the cameras discussed; this guide uses current manufacturer specifications and published thermography standards.
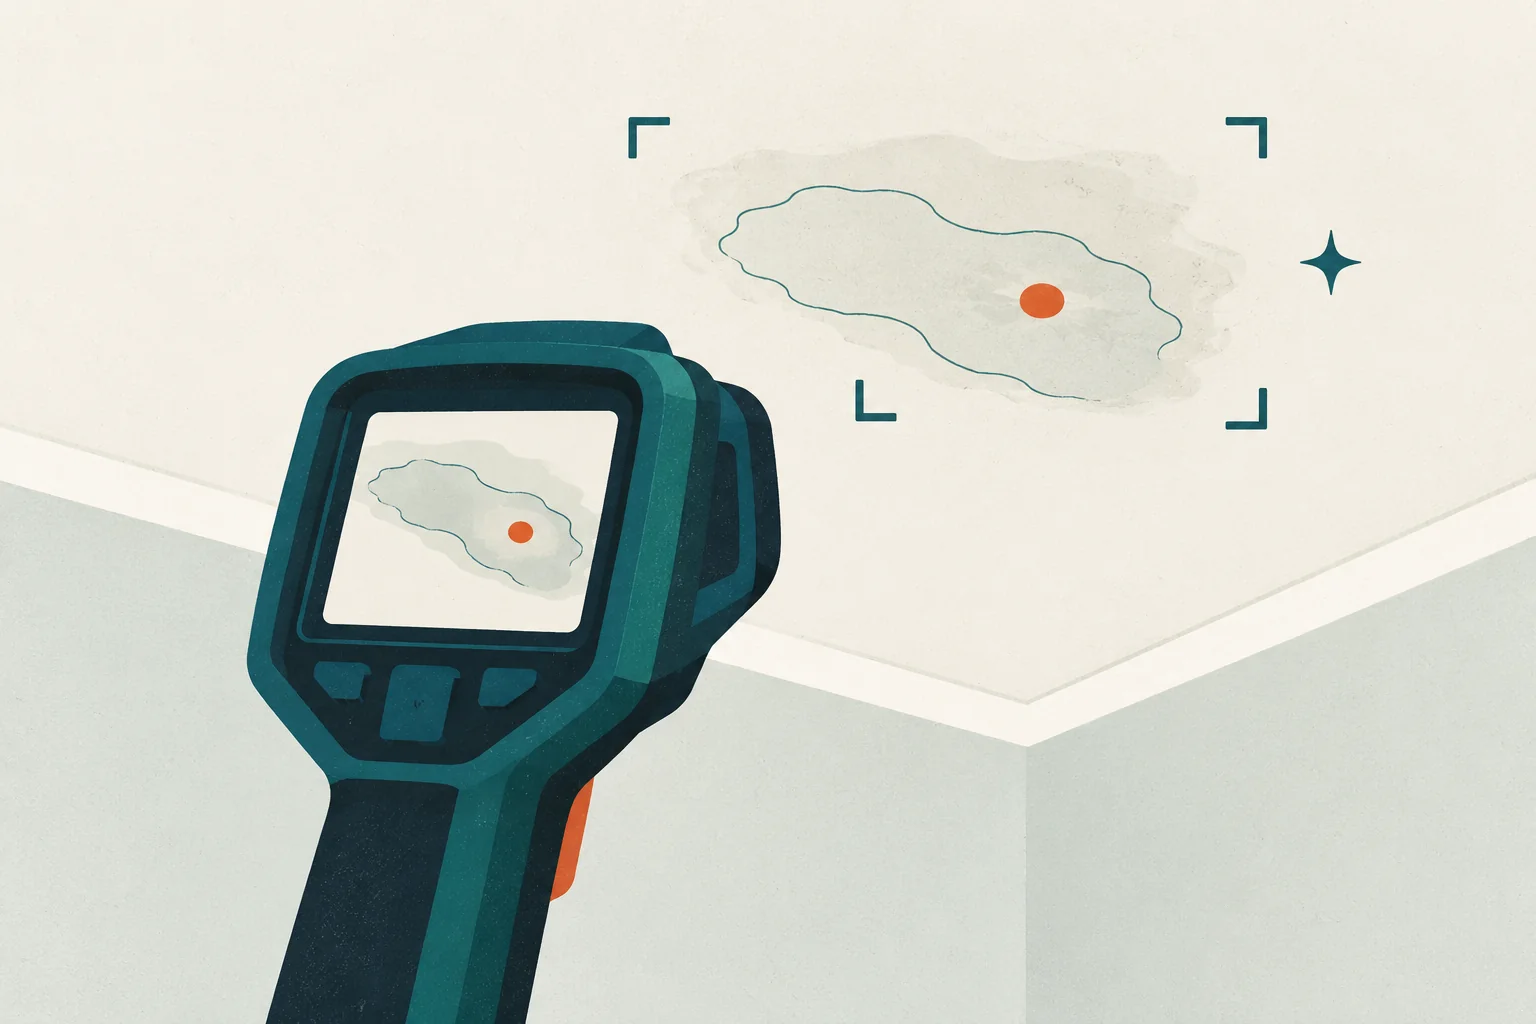
A thermal camera can make an invisible temperature pattern visible. It cannot see water, see through a wall or identify the roof entry point.
That distinction decides whether the purchase is useful. In the right environmental conditions, a thermal image can help map an indoor pattern for verification with a moisture meter. In poor conditions or untrained hands, an insulation gap, air leak, sun exposure, framing member or HVAC effect can look like moisture.
The short answer
- For one suspected leak: pay for a qualified inspection before buying a camera.
- For repeat property maintenance: a 160 × 120 native-resolution mobile or compact camera can be a useful documentation tool if you will learn the method and verify patterns.
- For claim, litigation, commercial roof or concealed-damage decisions: use a trained thermographer and require corroborating evidence.
What thermal imaging actually detects
Thermal imagers detect infrared energy at a surface and display apparent temperature differences. FLIR’s own moisture guidance states that a camera cannot “see” moisture; water may create a detectable pattern because evaporation, capacitance and conduction change surface temperature. Weather and indoor humidity affect those processes.
The same cold patch might come from wet material, missing insulation, moving air or a thermal bridge. A warm patch could reflect solar loading, equipment, a pipe or retained heat. Pattern, timing, construction and verification matter more than color.
ASTM C1153-23, a practice for locating wet insulation in roofing systems with infrared imaging, says the method does not determine the moisture cause or point of entry. It also calls for attention to roof construction, material differences, weather conditions and invasive verification. That standard addresses particular roofing systems and professional surveys, but its limits are a useful warning against casual diagnosis.
What conditions make an image more useful?
You need thermal contrast. U.S. Department of Energy material on infrared diagnostics notes that heat flow driven by an indoor-outdoor temperature difference or solar gain is necessary to produce useful contrast. For moisture work, timing relative to rain, evaporation, HVAC operation and solar exposure can change the result.
Useful practice includes:
- allow the camera to stabilize according to its instructions;
- record indoor and outdoor conditions;
- avoid interpreting an isolated image without visible-light context;
- compare the suspect area with similar, apparently dry construction;
- scan from more than one direction;
- save original radiometric files where the camera supports them; and
- verify the pattern with a suitable moisture meter or other method.
Do not manufacture contrast by overheating, chilling or wetting the building.
Two current camera formats worth understanding
Phone-connected: FLIR Edge Pro
FLIR lists a 160 × 120 native thermal resolution, 70 mK thermal sensitivity and approximately 2.5-hour battery life for the Edge Pro. It connects wirelessly to compatible phones and can save files through the mobile workflow.
Why it may fit: it is compact, uses the phone as the display and can reach viewpoints where holding a single connected block is awkward.
Tradeoffs: phone and app compatibility matters; the 70 mK sensitivity is not designed solely around subtle moisture work; mobile workflows can encourage quick, context-free snapshots.
Standalone compact: FLIR C5
FLIR lists the C5 with the same 160 × 120 native thermal resolution and less-than-70 mK sensitivity, plus a 5 MP visual camera, on-device screen, IP54 enclosure and cloud connectivity.
Why it may fit: a dedicated instrument has a consistent display and keeps thermal documentation separate from a personal phone.
Tradeoffs: it is a larger investment, and owning a dedicated camera does not provide interpretation skill. FLIR itself notes that moisture may require higher performance than some entry-level cameras can provide.
These examples are not “best” based on hands-on testing. They illustrate the two practical formats and the minimum specification class we would consider for documenting subtle building patterns. Prices and model names change; FLIR renamed the former FLIR ONE Edge Pro to FLIR Edge Pro in 2025.
When a moisture meter is the better purchase
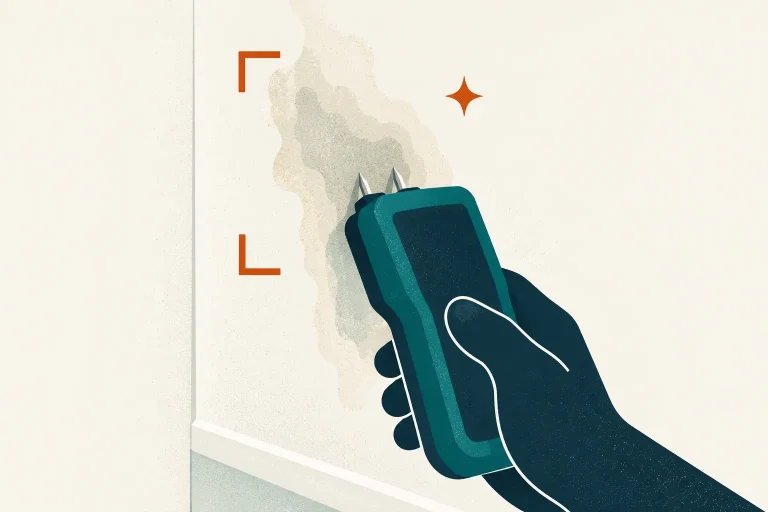
A moisture meter directly responds to properties associated with moisture in a material, although readings still require the correct mode and interpretation. It is usually less expensive and more focused for comparing a ceiling stain with adjacent dry material.
Thermal imaging is better at finding a pattern quickly. A meter is better at checking selected points. FLIR’s own guidance recommends using a moisture meter to confirm a thermal pattern. See our comparison of moisture meters for tracing roof leaks.
False positives to expect
- missing or compressed insulation;
- rafters, trusses or other framing;
- air leakage at ceiling penetrations;
- supply ducts or pipes;
- sun-heated exterior surfaces;
- reflections from low-emissivity materials;
- recent HVAC cycling;
- changes in surface material or thickness; and
- furniture or stored items changing air flow.
Do not use a temperature spot reading as a moisture percentage. They are different measurements.
When professional thermography is more appropriate
Hire a trained professional when:
- a costly repair or replacement depends on the result;
- the suspected area is large, concealed or recurring;
- the roof is low-slope with insulation above the deck;
- the images may become claim or legal evidence;
- structural, electrical or mold concerns exist;
- you cannot create safe access; or
- you need a written method, limitations and verification record.
Ask which standard or protocol the operator follows, what camera and sensitivity they use, how conditions will be recorded, what corroboration is planned and whether the report distinguishes observations from conclusions.
Our verdict
For most homeowners with one leak, a thermal camera is an expensive shortcut that still ends at a professional evaluation. For landlords, inspectors and serious maintenance users who repeatedly document buildings, a 160 × 120-class instrument can be useful—provided every suspicious pattern is treated as a question to verify.
Buy the tool only if you are also buying the discipline: environmental notes, visible images, comparative scans, original files, moisture verification and a willingness to say “inconclusive.”
Sources and methodology
- FLIR: How to Detect a Water Leak with Thermal Imaging, detection mechanism, conditions and verification; accessed October 17, 2026.
- FLIR C5 official product page, current specifications; accessed October 17, 2026.
- FLIR Edge Pro official product page, current specifications; accessed October 17, 2026.
- ASTM C1153-23, scope, limitations and verification of infrared roof surveys; accessed October 17, 2026.
- U.S. Department of Energy IR Diagnostics summary, need for thermal contrast; accessed October 17, 2026.
Method: editorial analysis of official specifications and authoritative method limitations. RoofInspectionUSA did not purchase or test these cameras and does not claim thermography certification.