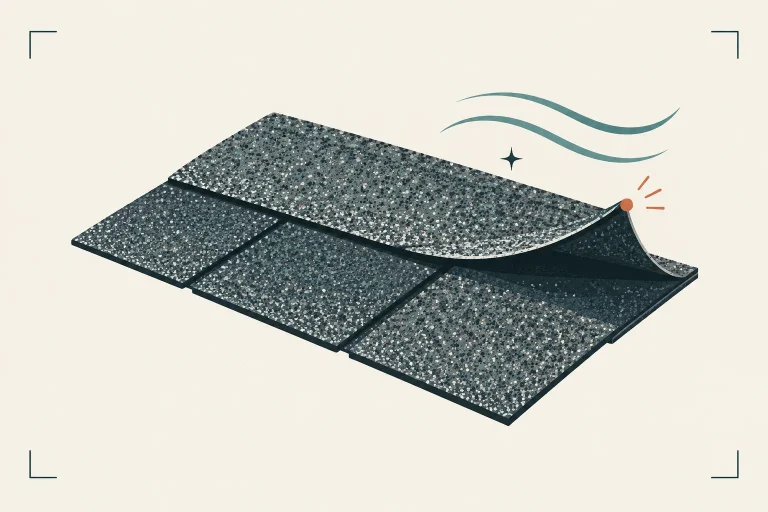

The best storm-damage record is not the largest pile of close-up photos. It is an organized account of when the event happened, what changed, where each condition is located and what you did next. That record can help an inspector understand the property, help contractors quote the same scope and help you answer an insurer’s factual questions.
It cannot establish coverage by itself. The policy, facts of the loss and insurer’s review determine that. It also cannot make an unsafe roof safe to access.
Start with safety, not photographs
Wait for officials to say the area is safe after a severe event. Stay away from downed power lines, unstable trees, damaged gas equipment, standing water near electrical sources, sagging ceilings and visibly displaced structural components. If there is an immediate threat to life or fire safety, call emergency services.
Do not climb onto a wet, steep, debris-covered or damaged roof. Photograph exterior roof conditions from stable ground, a safe window or another lawful ground-level vantage point. Let a qualified professional choose roof-access and fall-protection methods.
If water is entering near lights, outlets or appliances, keep people away from the area. Follow the safe first steps for an emergency roof leak before starting routine documentation.
Build one event timeline
Open a note, spreadsheet or paper log and record:
- the property address;
- approximate event start and end times;
- weather warnings or official reports you received;
- what you directly observed, such as wind-driven debris or hail at the property;
- when you first saw exterior or interior changes;
- calls, emails and visits, including names and reference numbers;
- temporary measures and who performed them; and
- the date and source of every estimate, report and invoice.
Separate direct observation from inference. “Water first appeared at the upstairs hall ceiling at 8:15 p.m.” is stronger than “wind tore open the roof” when no one has yet inspected the exterior. A nearby weather report supplies event context, but it does not prove property-specific damage.
Photograph in three distances
Use a consistent sequence for every safely visible condition.
- Orientation view: Show the side of the house, room or roof plane so someone can locate the area.
- Mid-range view: Show the condition in relation to a vent, valley, wall, ceiling fixture or other landmark.
- Detail view: Show the visible opening, displaced material, stain, debris impact or damaged component without losing scale.
Include undamaged reference areas when possible. FEMA’s claims-training material notes that undamaged and pre-existing conditions can be important context, and that useful photos should be clear, adequately labeled and tied to a location. Do not crop away context or digitally alter the evidence. Basic rotation and exposure correction are fine; keep the originals too.
Exterior subjects to record from the ground
- each side of the building and the full roofline;
- missing or displaced covering visible from below;
- ridge, eave and rake edges;
- gutters, downspouts, fascia and soffits;
- vents, chimney, skylight and flashing areas visible from your vantage point;
- tree limbs, impact debris and where they came to rest;
- siding, screens, fencing or metal surfaces that provide event context; and
- roofing material found on the ground, without assuming where it came from.
Interior and attic subjects
Photograph ceiling or wall staining from wide and close views, active drips, damp contents, floor protection and the room location. If an attic has a safe, normal access route and there are no electrical, structural, heat or air-quality concerns, photograph visible staining or wet materials without stepping away from a floored walkway. Do not move insulation or enter an unfinished attic solely to collect evidence.
A stain’s location does not necessarily identify the roof entry point; water can travel along decking and framing. A residential roof damage assessment can connect interior and exterior evidence while stating what remains concealed.
Preserve useful file information
Keep the original photo and video files so their date and other metadata remain available. Create a working copy with a plain filename such as 2026-10-17_north-eave_wide_01.jpg. In your log, add:
- date and local time;
- photographer;
- exterior side, roof plane or room;
- view direction;
- wide, mid-range or detail; and
- a neutral description of what is visible.
Back up the folder somewhere other than the damaged home. Do not rely only on a text thread, social-media upload or contractor portal that may compress images or later become inaccessible.
Record temporary mitigation without erasing the story
Reasonable temporary work may be needed to reduce additional damage. Contact your insurer promptly for its reporting process and ask what it wants documented before work begins. When safety permits:
- photograph the condition before mitigation;
- obtain a written description and price;
- photograph the work during and after completion;
- save invoices, receipts and payment records; and
- keep removed material when safe, lawful and requested—otherwise photograph it before disposal.
FEMA and NAIC consumer guidance both emphasize photos, records and receipts. Health and safety take priority: do not retain contaminated or dangerous material merely to preserve evidence, and do not delay essential emergency work while waiting for a perfect record.
Ask the inspector for a traceable report
A useful inspection report identifies the method, areas viewed, material, location of each finding, representative photos and access limitations. It should distinguish:
- observation: what was visible;
- interpretation: what may explain it;
- limitation: what could not be verified; and
- recommendation: who should answer the next question.
InterNACHI’s general home-inspection standard is one common benchmark: it describes a visual, non-invasive examination and does not require an inspector to walk a roof or determine insurability. A roof specialist may offer a different written scope, so confirm it before the visit.
For wind-specific patterns, read the wind-damage roof inspection guide. Hail requires a separate, material-specific evaluation; see the hail-damage roof inspection guide.
Keep a communication and document index
Store these items together:
- policy and insurer contact details;
- claim number, if you choose to file;
- event timeline;
- original and labeled photo folders;
- inspection reports;
- temporary-work records and receipts;
- contractor estimates and contracts;
- emails, letters and call notes; and
- prior roof photos, invoices, permits and warranties.
When people disagree, ask them to identify the exact photo, location, observed condition and assumption behind their conclusion. Do not let a contractor’s estimate, inspector’s finding and insurer’s coverage communication blur into one document; each serves a different purpose. Our storm-damage roof insurance claim guide explains that separation.
Avoid documentation mistakes that weaken context
- Do not climb the roof for a closer picture.
- Do not stage, mark, lift or manipulate roofing materials.
- Do not use only tightly cropped close-ups.
- Do not label a condition “storm damage” before the cause is evaluated.
- Do not discard originals after adding arrows or notes to copies.
- Do not sign a repair contract solely because someone promises insurance approval.
- Do not post sensitive policy, address or interior-security details publicly.
The FTC warns that disasters attract high-pressure and fraudulent repair offers. Verify license requirements, insurance and references; compare written estimates; and read any contract before signing.
When you need professional help
Sources and editorial notes
- NAIC: What You Need to Know When Filing a Homeowners Claim, photos, inventory, receipts, insurer communication and contractor cautions; accessed October 17, 2026.
- FEMA: How to Document Damages After Severe Weather Events, safety, before-disposal photos and receipts; accessed October 17, 2026.
- FTC: How To Avoid Scams After Weather Emergencies and Natural Disasters, contractor screening and high-pressure-sales warnings; accessed October 17, 2026.
- InterNACHI Home Inspection Standards of Practice, visual scope and inspection limitations; accessed October 17, 2026.
Editorial boundary: This article provides general documentation guidance, not property inspection, legal advice, claim representation or an opinion about cause or coverage.